Our popular Unity Game Programming course teaches students how to create video games using the Unity IDE. Teachers should understand some important logistical details as they prepare to teach this course.
REQUIRED SOFTWARE AND LICENSING
Students must have access to Windows or Mac OS computers in your computer lab. The Unity IDE and Visual Studio Community Edition are required software packages, installed together as you run the Unity setup program. These software packages cannot be installed on a Chromebook.
Additionally, teachers or schools are responsible for licensing the Unity software. This is a free process that you complete directly with Unity - not via CompuScholar. There are two free options:
- Free Personal License - use a valid email address to license on a computer.
- Free Education Grant License - get free school licenses suitable for lab deployment across multiple machines. use a valid email address to license on a computer.
Detailed instructions for installing and licensing the required software are found in the Chapter 1 Activity Instructions within our course. Be sure to complete your installation and licensing before students need to begin work in your lab.
UNITY VERSIONS
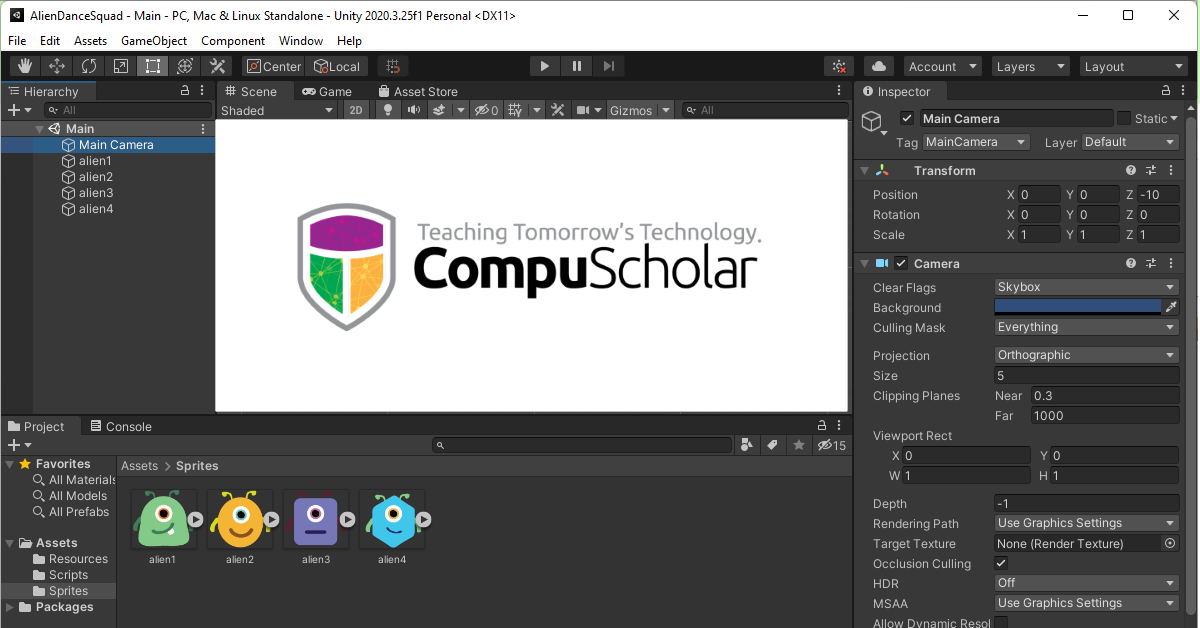
 The Unity IDE has new versions released very frequently - multiple times per year. Just pick one version and stick with it. Our course files (starter projects and solution projects) are currently at version 2020.3.8, so you can select any Unity version from that point forward.
Newer versions of the IDE will automatically convert older projects to the installed version. Teachers must have a version of the IDE at least equal to those used by students. If a student submits a project built with a newer version of the IDE than a teacher is using, the teacher will not be able to open that project.
The IDE itself should work basically the same way in newer versions, though there may be minor cosmetic differences as compared to course videos or imagery. If you run into any version difficulty, please contact our support team.
SUBMITTING STUDENT PROJECTS
Students will create complex projects on local or lab computers using the Unity IDE. Those project files should be communicated to the teacher in some fashion for grading. Options include:
- Direct observation - Teachers can look at student work on the original computer, without moving any files.
- Copy project files - Teachers can ask students to copy project directories to any specified location (shared network drive, Google folder, OneDrive, DropBox...).
- Upload projects to CompuScholar - Teacher can ask students to ZIP up the entire project and upload that ZIP file through CompuScholar's online system.
Within our course, the Chapter 2 Activity Instructions provide detailed instructions for creating and uploading project ZIP files, if that option is preferred. Please communicate your submission preferences to your students so they know what to do with their work!
GRADING STUDENT WORK
Teachers are responsible for grading the student projects. Once you obtain the student projects (through your chosen submission option), if you are not observing student work on their individual computers, just load those projects into your own locally installed copy of the Unity IDE. Our online system provides a point-and-click rubric you can use to assign a grade based on your observations.
FOR MORE INFORMATION
Check out our September 2022 Professional Development Webinar - "Getting Started with Unity Game Programming" - for further discussion and a video tour of the new course. As always, please Contact Us if you have questions!